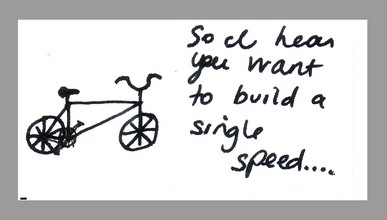
Pictures
and comments from the build of my singlespeed/fixie: |
|
| |
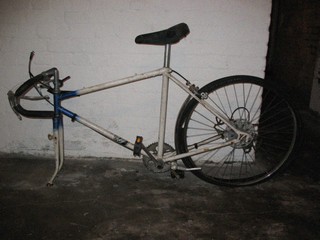 
This
is what "Gabby" looked like after we pulled her out of the trash
and carried her home. She was destined for the recycling center. The head
badge was un-saveable, as it had been almost ripped in half and was hanging
on by one rivet. The stem was frozen in place and the seat tube was filled
with sludge. |
| |
| |
Laurel
put this note and a 50 Euro bill inside a jewelry boy and wrapped it up
for my birthday. It was sweet and a very nice way for her to help out
with my obsession. I have the note pinned to my bulletin board at home
and look at it all the time. It always makes me smile. |
| |
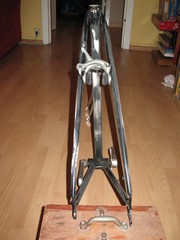 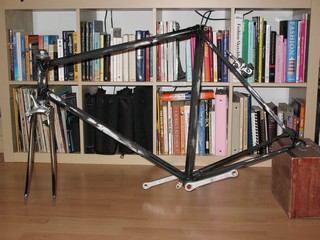
This
was after the initial priming and the second sanding. I put the fork
and cranks on to see how they would look together and with a black frame.
|
| |
|
 |
Here
she is after the final touch-up coat of paint. No drips, no bare parches,
and no runs in the paint. Not to shabby for a rattle-can job. This was also
the first day that my wife’s table was used for the sole purpose of
bike building. |
| |
|
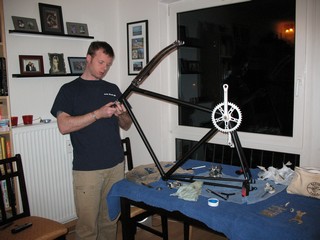 |
Installing
the chainring and the forks. I decided to use a bigger towel/drop cloth
on the table after I saw a raised eyebrow from someone sitting on the couch
after I whipped out the grease gun... Not my first fork installation, but
it was the first time I used Teflon plumbers tape on the threads. Tip from
Sheldon Brown. |
| |
|
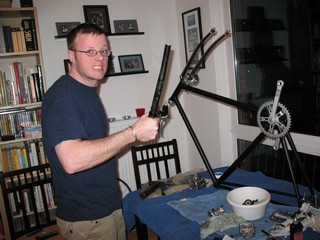 |
Arrrgh!!
She be mine Matey! While installing my bars, I noticed that they looked
sort of like a cutlass. Laurel snapped a couple pictures of me being three
years old with a new toy. |
| |
|
 |
Taken
before the delivery of the rear wheel. I wanted to make sure that all of
the stem/bar/seat/pedal measurements were as close to my race bike as possible
even given that the frame size was larger. It wasn’t until the two
were side by side that I realized how big of a difference there truly was.
I have found while riding it that the frame size in THIS case isn’t
a big deal and I haven’t had any problems at all with it. |
| |
|
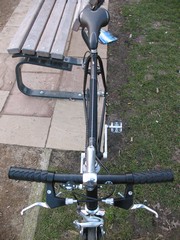 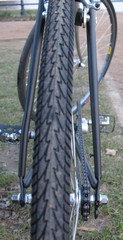 |
Fixed
gear porn. 90% of all fixie shots on the dedicated websites include a from
the rear, straight chain pic. Sort of the “money shot” of the
fixie world. I have included it here next to a shot showing what my MTB
bars look like installed. |
| |
|
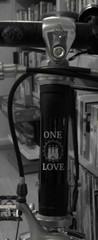   |
Pictured
here is the head badge that I had made for Gabby. The original was screwed
and there was no saving it. A vintage replacement would have been pricy
as well. I worked this little logo up in Photoshop and it fits both the
sprit of the bike and gives a nod to the city in which she was rebuilt -
given that I 'jacked the center image from the city seal. |
|
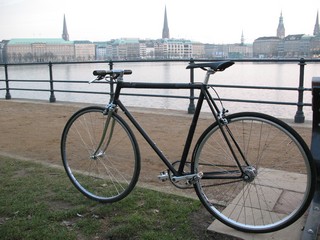 |
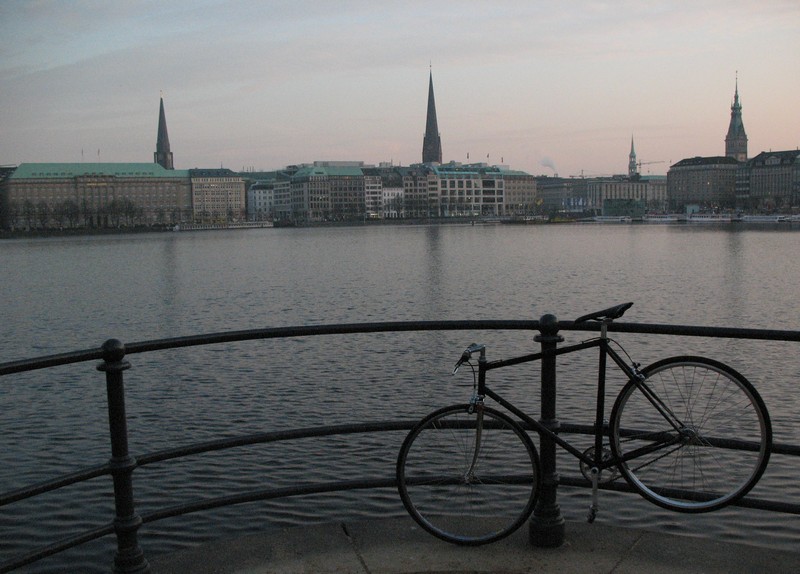
Umm…
There she is on her first day out riding in the world. I made a fast run
to the Hamburg University, crossed town to spend some quality time in my
favourite coffee shop, weaved through tourists at the Rathaus (City Hall),
and circled the Gross and Klein Alster lakes in the city center –
stopping here for a few shots of Gabby as the sun went down. Click on the
image for a larger one. |
| |
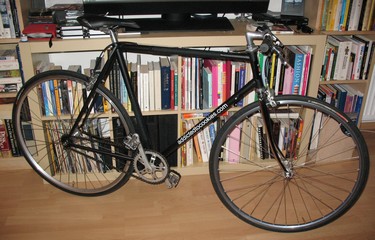 |
Since I am the only person that
reads the postings on my site, I figure ‘what the Hell’ and
advertise on my bikes. My folder has a similar sticker and I once caught
a guy taking a picture of the bike and then the sticker on the train with
his phone. I talked to him for a second or two and he thought it was a great
site name. Hopefully, Gabby will generate some traffic as well. |
| |
 |
This
point at the Klein Alster is a really nice place to watch the sun rise and
set. One can see the steeples on the Michael, Petri, and Nicoli Kirches
as well at the clock tower of the Rathaus. Around this lake and its larger
brother there is a park buffer zone, running path, and dedicated bike lane.
On really clear warm days the place is covered with couples, puppies, picnickers,
and children. Even then, it is a peaceful spot to come to and read or think
or just sit. Click on the image for a larger one. |
| |